Where Was This Photo Taken? A Step-by-Step Way to Find Out
A practical walk-through for working out where one specific photo was taken: check the hidden metadata first, then read the visible clues, then use search and map tools. You will also learn how to check the answer and when a photo simply cannot be placed.
Where was this photo taken? The quick answer
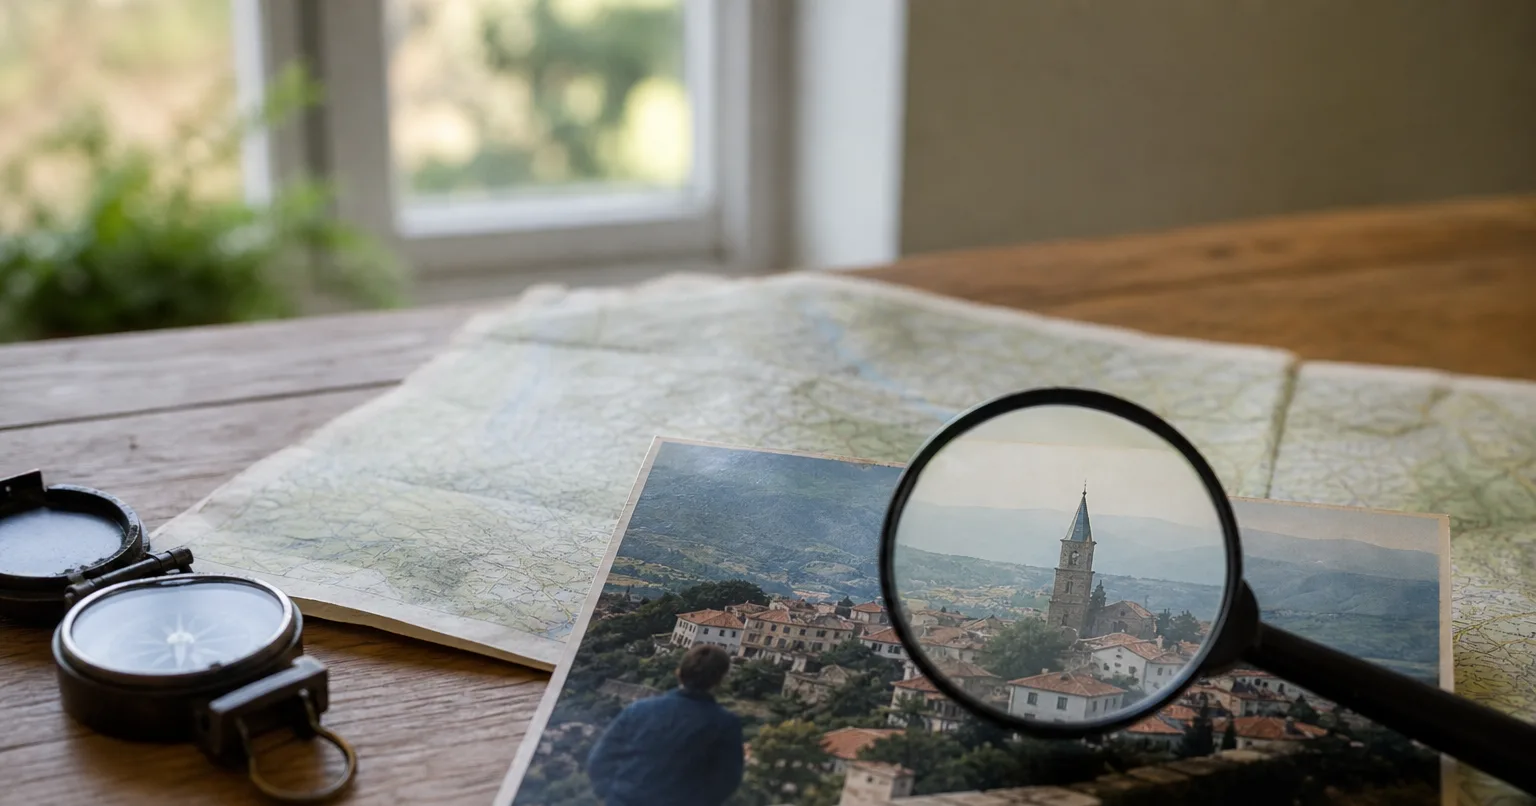
Work through three layers in order. First, check whether the file still contains GPS coordinates in its metadata, because that can give you an exact point in under a minute. Second, if there is no location data, run a reverse image search to see whether the same scene already exists online with a caption or place name. Third, read the visible clues yourself, such as signs, language, road markings, architecture and vegetation, and confirm your guess against maps and street-level imagery.
This order saves time because each step is faster and more reliable than the one after it. Metadata is either there or not. A reverse image search either finds a match or it does not. Only when both come up empty do you need the slower detective work of reading the scene, which is where most of the skill lies.
If you want a head start on that last step, an AI geolocation service such as LOCATE.photo can propose a location from the photo's content and explain which cues it used. Treat any such result, from a tool or from your own reasoning, as an estimate to verify rather than a final answer.
Step 1: Check the photo's metadata for GPS coordinates
Most phones and many cameras write EXIF metadata into each photo, and if location services were switched on, that includes latitude and longitude. On Windows, right-click the file, choose Properties, open the Details tab and scroll to the GPS section. On a Mac, open the image in Preview, choose Tools and then Show Inspector, and look for a GPS or location tab. In the photo apps on iPhone and Android, swiping up on an image or tapping the info button usually shows a small map if coordinates are stored.
If you find coordinates, paste them into any map service to see the exact spot. Also look at the date, time and camera model in the same panel, since they help you judge whether the file is the original. For deeper inspection, a free command-line program such as ExifTool lists every metadata field a file contains.
Be aware of why metadata is often missing. Screenshots never contain the location of the original scene, and many social networks and messaging apps remove EXIF data or recompress images when they are shared. If someone sent you the photo, the most reliable fix is to ask for the original file sent as a document or by email rather than as an in-chat image. Remember too that metadata can be edited, so coordinates are strong evidence but not proof.
Step 2: Run a reverse image search
A reverse image search looks for the same or visually similar pictures on the web. Widely used options include Google Lens, Bing Visual Search, Yandex Images and TinEye. Upload the photo or paste its address, then scan the results for pages that name a place, such as travel blogs, news articles, hotel listings or photo sharing sites.
Famous landmarks and popular viewpoints often match within seconds. If the full image returns nothing useful, crop it to a single distinctive element, such as a church tower, a shop front, a mountain silhouette or an unusual bridge, and search again. Different search engines index different parts of the web, so trying more than one is worth the extra minute.
Check that a match really shows the same place and not just a similar style of building or coastline. Look for details that line up exactly, such as the number of windows, the shape of a roofline or the position of a lamppost. A match on a page about a different city is a common trap.
Step 3: Read the visible clues in the photo
When searches fail, the photo itself usually still contains plenty of evidence. Start with text: the script on signs narrows things down to a region, and the language, spelling, phone number formats, website endings and shop names can narrow it to a country or even a town. Zoom in on posters, menus, vehicle livery and street name plates, since small text is often the most specific clue in the frame.
Next look at the road. Which side cars drive on, the colour and style of lane markings, the shape of bollards and guardrails, the design of traffic lights and the format of licence plates all vary between countries. Utility poles, kerb paint, post boxes and bus stop designs are also surprisingly regional.
Then read the landscape and buildings. Palm trees, birches, eucalyptus or rice paddies point to different climates. Red soil, limestone cliffs, snow-capped peaks or flat farmland rule out large areas. Roof materials, window shutters, balcony styles and building heights reflect local tradition and planning rules. Write each clue down with what it suggests, because combining several weak clues often produces one strong conclusion.
Step 4: Narrow it down with maps, Street View and shadows
Once you have a candidate country or city, switch to map tools. Satellite view helps you match road layouts, river bends, coastlines and field patterns. Street-level imagery, such as Google Street View, lets you walk along candidate streets and compare building facades, signs and skylines with your photo until something lines up exactly.
Shadows add another check. Outside the tropics, the midday sun sits to the south in the northern hemisphere and to the north in the southern hemisphere, so shadows point the opposite way. If you know or can guess the time of day, the direction and length of shadows help you confirm which way the camera was facing and whether your candidate location makes sense.
Use the background to fix the camera position. Line up two distant features, such as a hilltop and a tower, and find the spot on the map where they appear in the same relative position. This technique turns a rough area into a precise viewpoint and is one of the most reliable ways to confirm a location by hand.
Step 5: Use an AI geolocation tool to speed things up
AI tools can do much of the clue reading in one pass. LOCATE.photo accepts JPEG, PNG or WebP files up to 20 MB and up to 10 photos at once. If the file still has GPS coordinates in its EXIF data, the service uses them. Otherwise one AI model proposes a location from what is visible, such as signs, script, architecture, road furniture, vegetation, terrain and landmarks, and a second, independent model reviews that proposal against the photo before the result is shown. An analysis typically takes 10 to 30 seconds.
The result lists country, region, city and district where possible, coordinates on a map, a confidence radius, a confidence level, the visual cues used and a written explanation. That explanation is the useful part for verification: you can take each cue it names and check it yourself in Street View or satellite imagery, exactly as in Step 4. New accounts get two free lookups showing country and city, and single lookups and credit packs are available after that.
Whatever tool you use, keep the confidence information in mind. A small radius with several named cues is a good starting point for checking. A large radius or low confidence means the photo holds little evidence, and you should treat the suggestion as a lead rather than an answer.
When a photo cannot be located, and when you should not try
Some photos simply do not contain enough information. Plain interiors, close-ups of food or objects, generic beaches and blank skies often look the same in many countries. In those cases no method, manual or automated, can give a confident answer, and a low confidence or no location at all is the honest result.
Be careful when the photo shows a person or a private place. Working out where someone lives, works or is staying from their photos without their consent can be unlawful and can put them at real risk of stalking or harassment. Locating scenes for travel planning, fact-checking, research or recovering your own memories is a very different matter from tracking an individual.
Finally, treat every result as an estimate. Metadata can be edited, look-alike places exist, and even a careful analysis can be wrong. If the location matters, for example in journalism or a dispute, confirm it with at least two independent pieces of evidence before relying on it.
FAQ
- Can I find where a photo was taken from a screenshot?
- A screenshot carries no GPS data about the original scene, only information about the device that captured the screen. You can still work from the visible content using reverse image search, signs, architecture and map comparison. If possible, ask for the original file instead.
- Does every photo have location data in it?
- No. Location is only saved if the camera or phone had location services turned on when the photo was taken. Many social networks and messaging apps also remove metadata when images are uploaded or shared, so photos downloaded from them usually have none.
- Is a reverse image search enough to find the location?
- It is often enough for well-known landmarks and popular viewpoints that appear many times online. For ordinary streets, rural scenes or private photos, it frequently finds nothing useful. In those cases you need to read the visible clues and confirm them on maps.
- How can I check whether a suggested location is correct?
- Open the location in satellite and street-level imagery and compare specific details, such as building shapes, road layout, signs and the skyline in the background. Check that shadow directions fit the hemisphere and time of day. If several independent details match exactly, the location is very likely right.
- Can I find the location of a photo sent on WhatsApp or another messenger?
- Images sent as normal chat photos usually have their metadata removed, so the GPS coordinates are typically gone. Ask the sender to send the file as a document, which often keeps the original data. Otherwise, use the visual clues and search methods described above.
- Is it legal to find out where a photo of someone was taken?
- Locating a photo of a person without their consent can be unlawful and harmful, especially if the aim is to find where they live or spend time. Laws differ by country, but using photo geolocation to track or approach someone is widely treated as harassment or stalking. Use these methods for scenes, research and your own photos.